How to Build an E-Commerce Site with WordPress: A Step-by-Step Guide
In today’s digital world, having an e-commerce store is essential for businesses looking to expand their reach and maximize sales. With WordPress, you can build a powerful, fully functional e-commerce website without needing advanced coding skills.
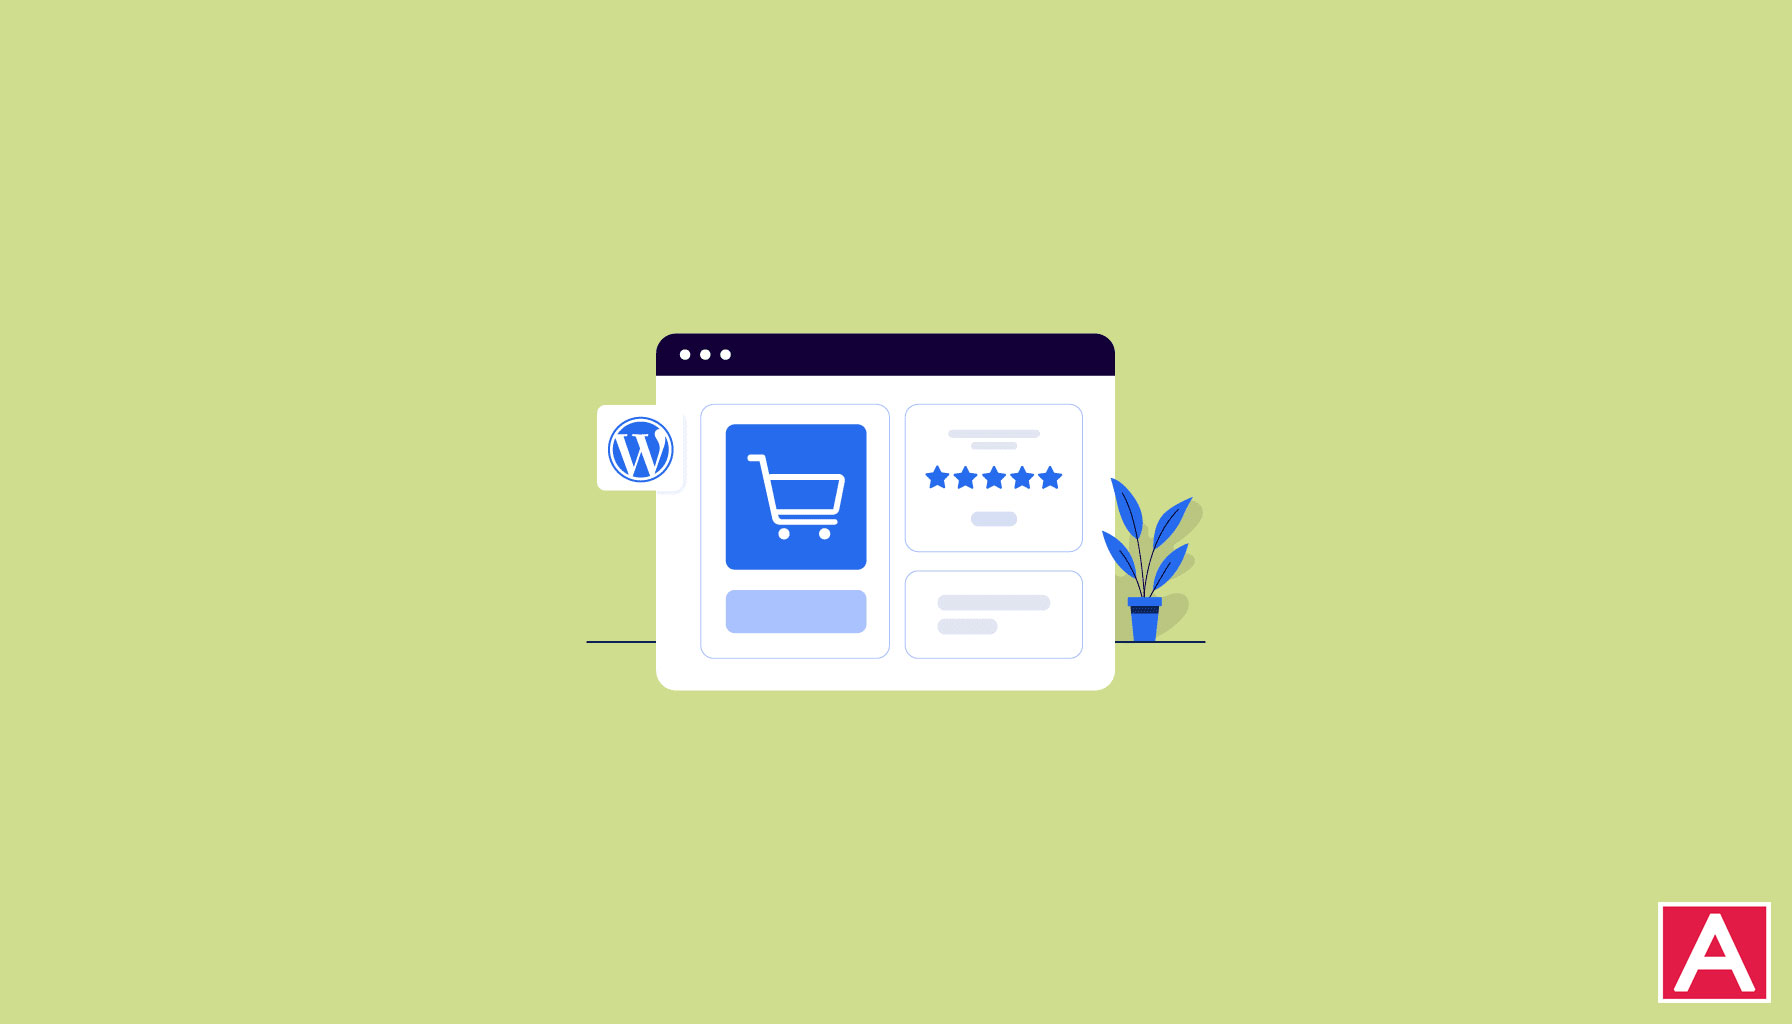
In this guide, we’ll walk you through the step-by-step process of creating an e-commerce website using WordPress and WooCommerce, the most popular e-commerce plugin.
Step 1: Choose a Domain Name & Web Hosting
Before you start building your site, you need a domain name (your website’s address) and web hosting (where your site is stored).
How to Choose a Domain Name:
🔹 Keep it short, memorable, and brandable (e.g., mystore.com).
🔹 Use a .com extension for a global audience.
🔹 Avoid numbers and hyphens to make it easy to type.
Best Hosting Providers for WordPress E-Commerce:
✅ SiteGround – Reliable, fast, and optimized for WooCommerce.
✅ Bluehost – Officially recommended by WordPress, affordable & beginner-friendly.
✅ Kinsta – Premium hosting with excellent speed and security.
Once you’ve chosen your hosting provider, install WordPress with one-click installation, which most hosting companies offer.
Step 2: Install & Set Up WooCommerce
WooCommerce is a free, powerful e-commerce plugin that turns your WordPress site into a full-fledged online store.
How to Install WooCommerce:
1️⃣ Log into your WordPress Dashboard.
2️⃣ Go to Plugins > Add New and search for WooCommerce.
3️⃣ Click Install Now, then Activate.
4️⃣ Follow the WooCommerce Setup Wizard to configure your store.
During setup, WooCommerce will ask you to:
✔ Enter your store details (location, industry, and product types).
✔ Choose a payment method (PayPal, Stripe, credit card, etc.).
✔ Set up shipping options (free, flat rate, or real-time shipping).
✔ Configure taxes (WooCommerce helps with tax settings based on your region).
Step 3: Select & Customize a WordPress Theme
Your website’s design and user experience (UX) play a huge role in conversions and sales. WordPress offers thousands of themes, but it’s best to choose a WooCommerce-compatible theme.
Top WooCommerce Themes for E-Commerce:
🎨 Astra – Lightweight, fast, and highly customizable.
🎨 Flatsome – Perfect for modern, stylish e-commerce stores.
🎨 Storefront – The official WooCommerce theme, simple and reliable.
🎨 OceanWP – A versatile theme with powerful e-commerce features.
How to Customize Your Theme:
1️⃣ Go to Appearance > Themes and upload/install your theme.
2️⃣ Use the WordPress Customizer (Appearance > Customize) to adjust colors, fonts, and layout.
3️⃣ Install a drag-and-drop page builder (like Elementor or WPBakery) for even more control.
Step 4: Add Products to Your Store
Now that your store is set up, it’s time to add your products!
How to Add Products in WooCommerce:
1️⃣ Go to Products > Add New in your WordPress Dashboard.
2️⃣ Enter your product title and description.
3️⃣ Set a price and choose whether it’s simple, variable, grouped, or downloadable.
4️⃣ Upload high-quality product images and galleries.
5️⃣ Add categories and tags for easy navigation.
6️⃣ Set up inventory management (stock levels, SKU, backorders).
7️⃣ Click Publish to make the product live.
💡 Pro Tip: High-quality product images, clear descriptions, and customer reviews boost conversions.
Step 5: Set Up Essential E-Commerce Pages
A successful e-commerce site needs more than just products. Here are some must-have pages:
✔ Homepage – Showcase your best products and offers.
✔ Shop Page – Display all your products for easy browsing.
✔ Product Pages – Detailed descriptions, images, and reviews.
✔ Cart & Checkout – Smooth checkout process to reduce cart abandonment.
✔ About Us – Build trust with customers by sharing your story.
✔ Contact Page – Allow customers to reach you easily.
✔ Privacy Policy & Terms – Essential for compliance and trust.
WooCommerce automatically creates most of these pages, but you can customize them using Elementor or the WordPress Block Editor.
Step 6: Optimize Your E-Commerce Site for Sales
To maximize conversions and sales, you need to optimize your store.
1. Improve Site Speed 🚀
🔹 Use a fast hosting provider (like SiteGround or Kinsta).
🔹 Install a caching plugin (WP Rocket, W3 Total Cache).
🔹 Optimize images with Smush or ShortPixel.
2. Enhance SEO for More Traffic 🔍
🔹 Install Yoast SEO or Rank Math for better search rankings.
🔹 Use SEO-friendly URLs (e.g., mystore.com/product-name).
🔹 Add meta descriptions & alt tags to products.
3. Set Up Payment & Shipping 💳
🔹 Offer multiple payment options (PayPal, Stripe, credit cards, mobile payments).
🔹 Use WooCommerce Shipping Extensions for real-time shipping rates.
4. Install Security & Backup Plugins 🔐
🔹 Use Wordfence or Sucuri to protect against hackers.
🔹 Set up automatic backups with UpdraftPlus or Jetpack.
5. Use Email Marketing & Retargeting ✉
🔹 Set up cart abandonment emails (via Mailchimp, Klaviyo, or SendinBlue).
🔹 Use Facebook Pixel & Google Analytics to track visitor behavior.
Step 7: Launch & Promote Your Store
🎉 Once your site is ready, it’s time to launch! Here’s how to drive traffic and sales:
📢 Run Paid Ads – Use Facebook Ads, Google Ads, and Instagram Ads to reach targeted customers.
📝 Content Marketing – Start a blog and write SEO-friendly articles to attract organic traffic.
📧 Email Marketing – Send promotions, product updates, and newsletters.
🤝 Influencer & Affiliate Marketing – Partner with influencers to expand your reach.
📦 Offer Discounts & Free Shipping – Boost initial sales with attractive offers.
Final Thoughts
Building an e-commerce site with WordPress and WooCommerce is one of the best ways to launch a successful online store. With the right theme, plugins, and optimization strategies, you can create a high-converting, scalable online business.
🚀 Need Help Building Your E-Commerce Site?
At Adverte Africa, we specialize in WordPress e-commerce development that drives real sales and ROI.
Contact us today and let’s create your online store!
Leave a Reply